All posts tagged Halloween
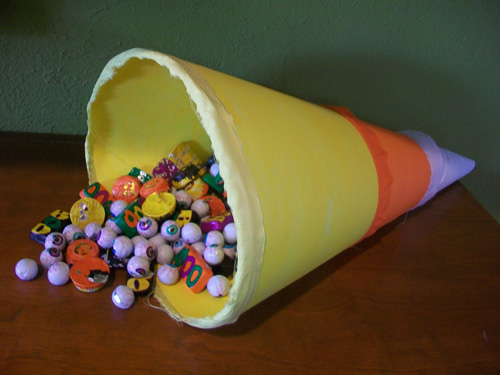
This is my take on a fall cornucopia. I filled mine with Halloween candy and this will be the grab “bag” for trick-or-treaters. I love candy corns as visual icon and since orange is my favorite color I just can help but love these little treats.
Here is how to make one of your own:
1. Start with a large piece of white poster board. Cut it into a baseball field pattern. Round at the outer edge and instead of coming to a point, cut it flat at the base.
2. Roll it in to a cone shape.
3. Use binder clips to hold it into the shape. Lift edges and glue with tacky glue. Keep binder clips in place until it is fully dry.
4. Once dry, divide it into three sections. Use craft paint and paint the base white, the middle orange and the outer edge yellow. repeat this for both the inside and outside. Allow to dry completely by standing up on the outer edge.
5. Using broad cloth, tear a strip of white, orange and yellow about 1 inch wide and long enough to go around your candycopia. Glue down with tacky glue.
6. If you have too much room and not enough candy to fill the whole thing, stuff the bottom with orange tissue paper.
7. Add in candy of choice and enjoy!
I love cupcakes – but really who doesn’t? I had a special day with my daughter and we worked on Halloween cupcakes together. I tried to snap pictures before they were quickly gobbled up. All were made using Butter crème icing and a Standard White Cake. These are some of the outcome.
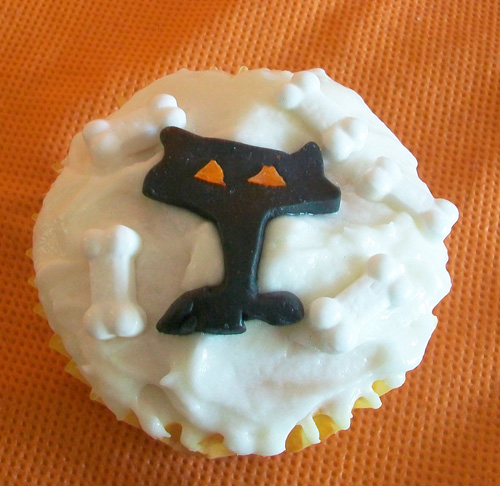
This cupcake was made by cutting the cat out of black fondant on the Cricut Cake using the Happy Hauntings Cartridge. Around the cat I scattered candy bones. It is frosted in white butter creme icing.
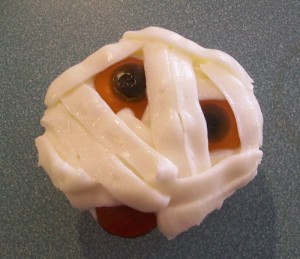
This cupcake, The Mummy, is made by using a flat 406 frosting tip with white butter creme icing in a bag, piped on over top of gummy eye balls.
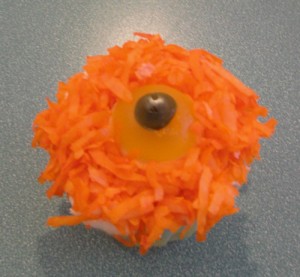
This cyclops cupcake is made by frosting it first in white butter creme icing. Next adding on a gummy eye ball. Finally dyeing shredded coconut orange and adding it on top of the frosting.
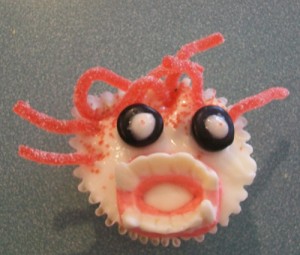
This creepy cupcake is made by frosting it first in white butter creme icing. Next, I added sour patch strings for the hair, black licorice for the eyes, white frosting for the whites of the eyes and a gummy candy mouth.
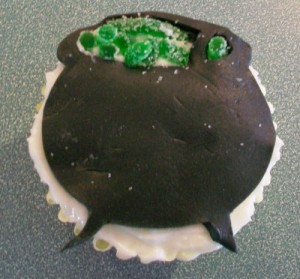
This cupcake was made by cutting the witches cauldron out of black fondant on the Cricut Cake using the Happy Hauntings Cartridge. At the opening of the cauldron, I inserted green sour patch candies . It is frosted in white butter creme icing.
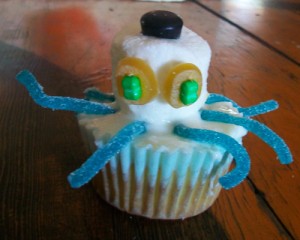
This cupcake is frosted in white butter creme icing. Next I added eight, blue sour patch candy strings for tentacles. On top of the eight legs I plopped a full sized marshmallow that I decorated with gummy candy and black licorice.
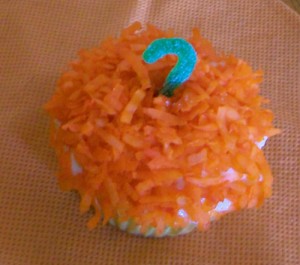
This cupcake is first frosted in white butter creme icing. Next, I dyed shredded coconut bright orange and adding it on top of the frosting. Finally I added in a green sour patch candy string as the pumpkin stem.
So the baker’s costume will work for some events but a girls gotta have options. So I also created this recycled umbrella jelly fish costume.
To learn how to make it jump over to my piece at the Phoenix New Times Jackalope Ranch: Thrifty Homemade Jelly Fish Costume
For Halloween this year I thought I would declare my love for the Cricut Cake! I had to think of a costume that I can wear easily while toting two youngsters around and still do all things I need to do. So I knew it had to be something cute but practical. To make one yourself read on.
Steps:
1. I used my Cricut Cake baker’s hat from CHA January 2010 as a starting point.
2. I cut utensils, cupcakes and cake slices out of Bazzill Basics card stock on my Cricut. I used the Sweet Treats Cartridge and the From My Kitchen Cartridge to cut the shapes.
3. I added Glimmer Mist to the utensils to give them a pink shine. I also, added some sharpie marker to the front cake to make it stand out.
4. Next, I glued the pieces together with a tacky glue and then hot glued them to the baker’s hat.
5. I finished off the costume my adding the Cricut Cake Apron.
Special Note: Thanks Sarah for modeling in the costume with the Cricut Cake machine.
Also Blogged at Mixology Crafts where I am a contributing blogger.
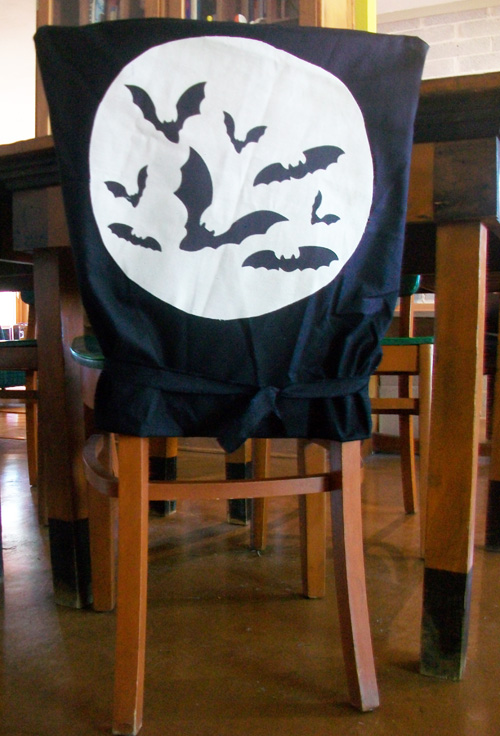
I covered my dining room chairs for Halloween. This project requires a sewing machine and a YUDU screen printer. I created the bats by cutting them out using my Cricut and Happy Hauntings Cartridge. Then I created them in YUDU screens and printed them with black ink onto white canvas. I then cut the canvas into a circular moon shape. For the black cover I used black broad cloth and fit it to loosely cover the chairs and then sewed them up on three sides. I then sewed the printed moon onto the black cover. I finished it off by tying a long strip of black broad cloth around the bottom of the black covering. I made four of these in a day – go for it, you can too!
